
One of the things I’ve loved doing is taking pictures of the bayou our lakehouse is situated on. I love capturing the changing light, leaves and water. The changes from season to season are the most dramatic, of course, but subtle shifts happen even from moment to moment.
Spring Lake is unusual in that it is very long and narrow with a ton of little bayous and bays. Some of the larger bayous have names but there are many smaller ones that don’t, at least as far as we know. We used to drop anchor in an unnamed bayou that we dubbed “Spartan Bay.” When we bought the lakehouse, we weren’t aware of a name for our little bay so we named it “Laguna Bayou” after one of our favorite places – Laguna Beach, California.
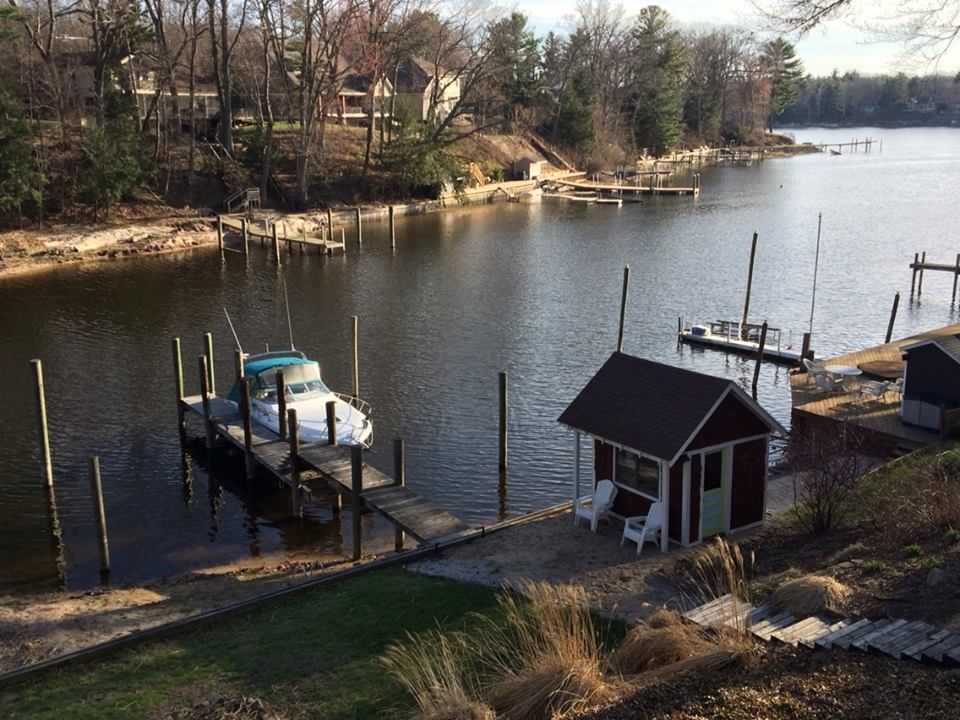
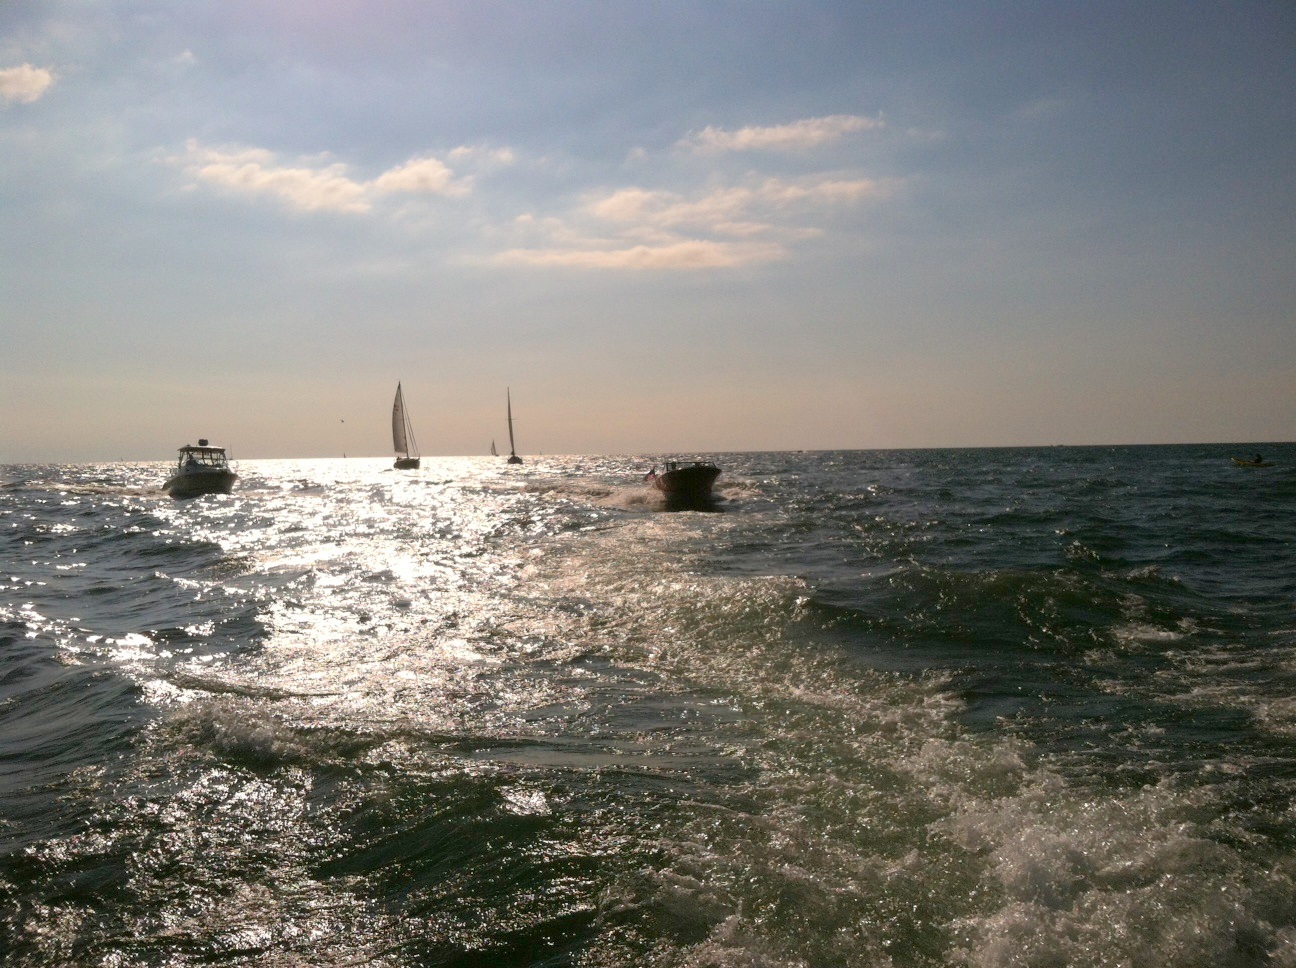
Here’s the first bayou shot I took, shortly after we took possession of the lakehouse. This was a happy day, because we had just gotten the boat out of storage and brought it to the dock for the summer!
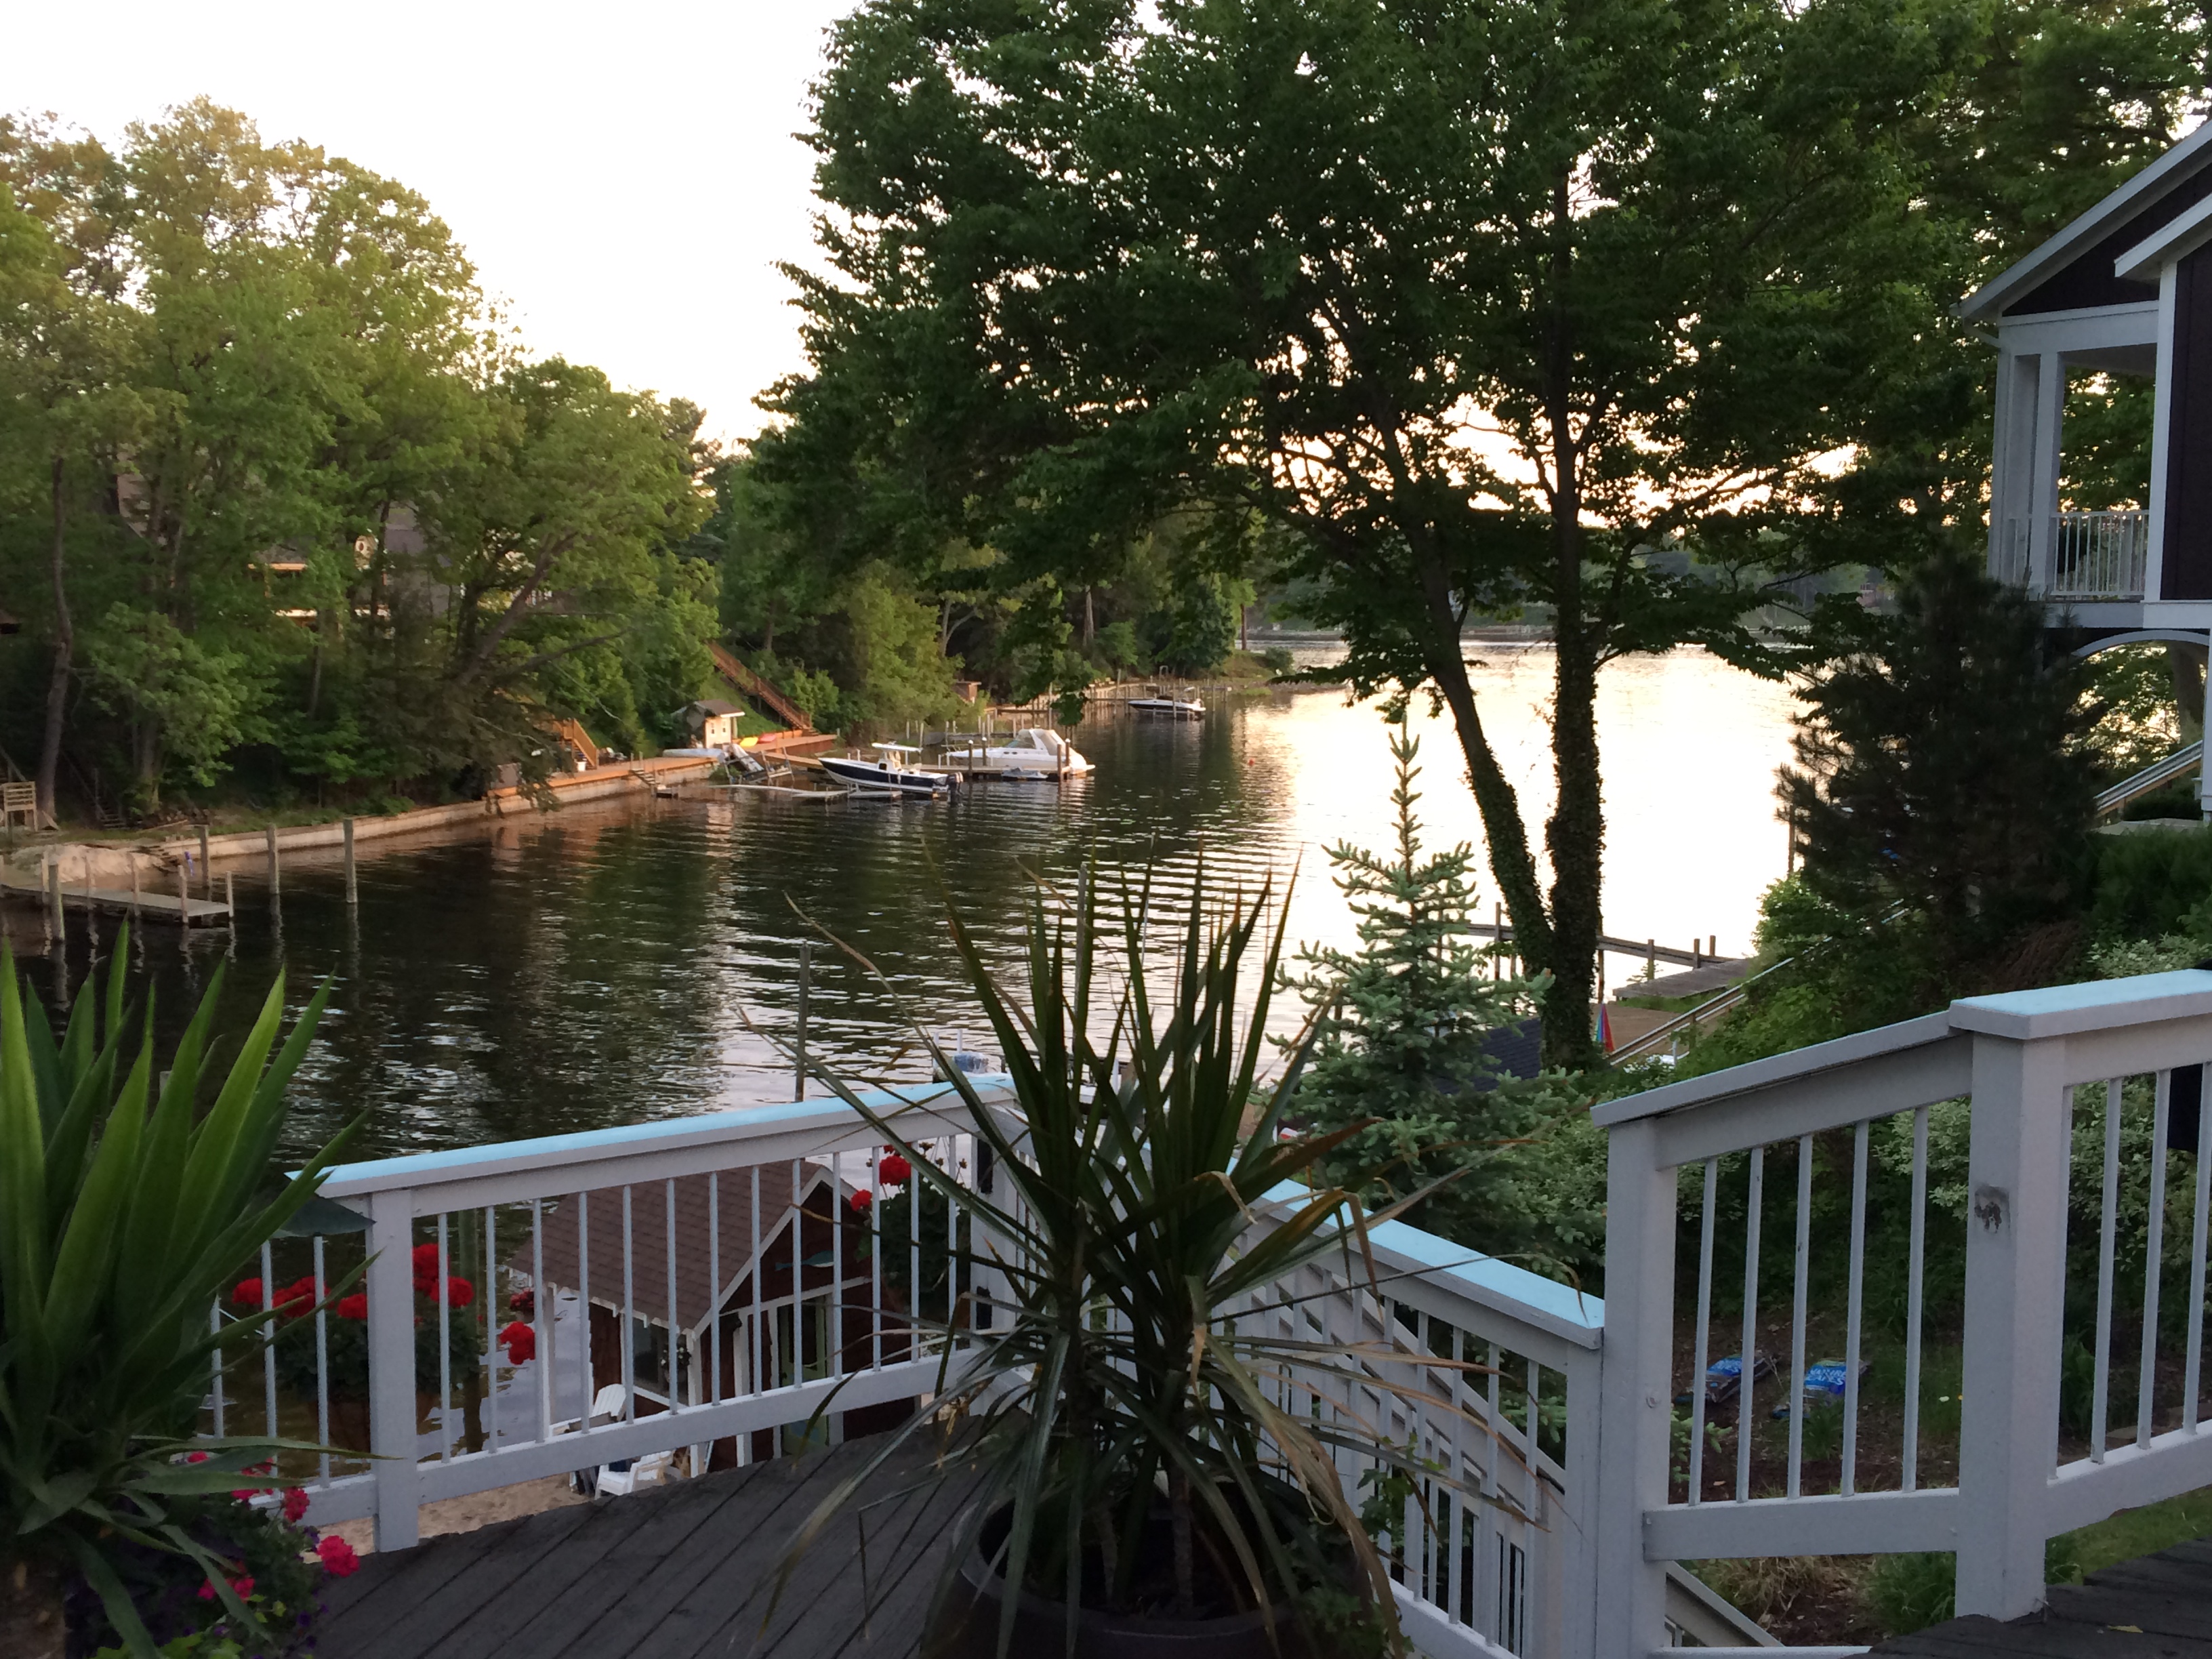
This is the bayou in early summer, late in the day. I love the golden glow from the late afternoon sun.
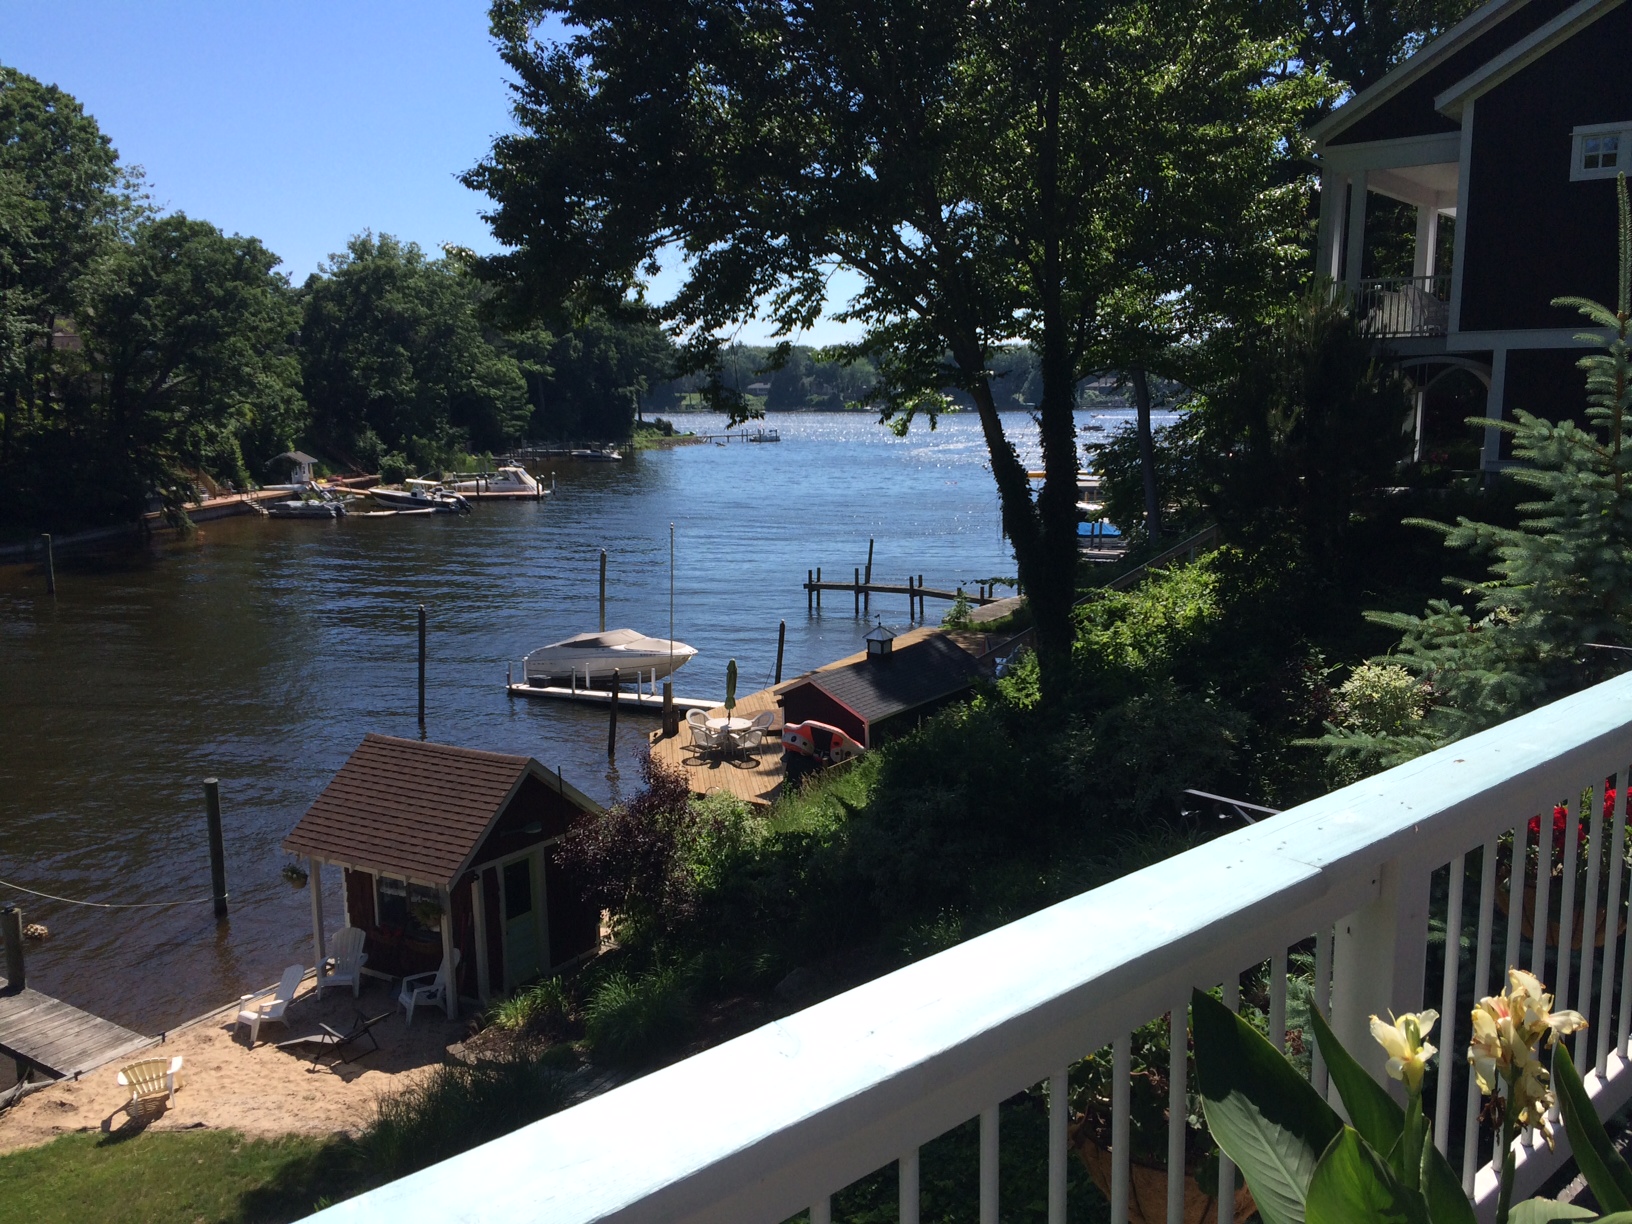
This shot is the one that’s featured in my blog header. It was taken in the middle of the afternoon on a beautiful Sunday in July. I had a heavy heart when I took this because it was time to head home. There’s nothing sadder than having to tear yourself away from this!
Here’s another late afternoon shot taken toward the end of summer.

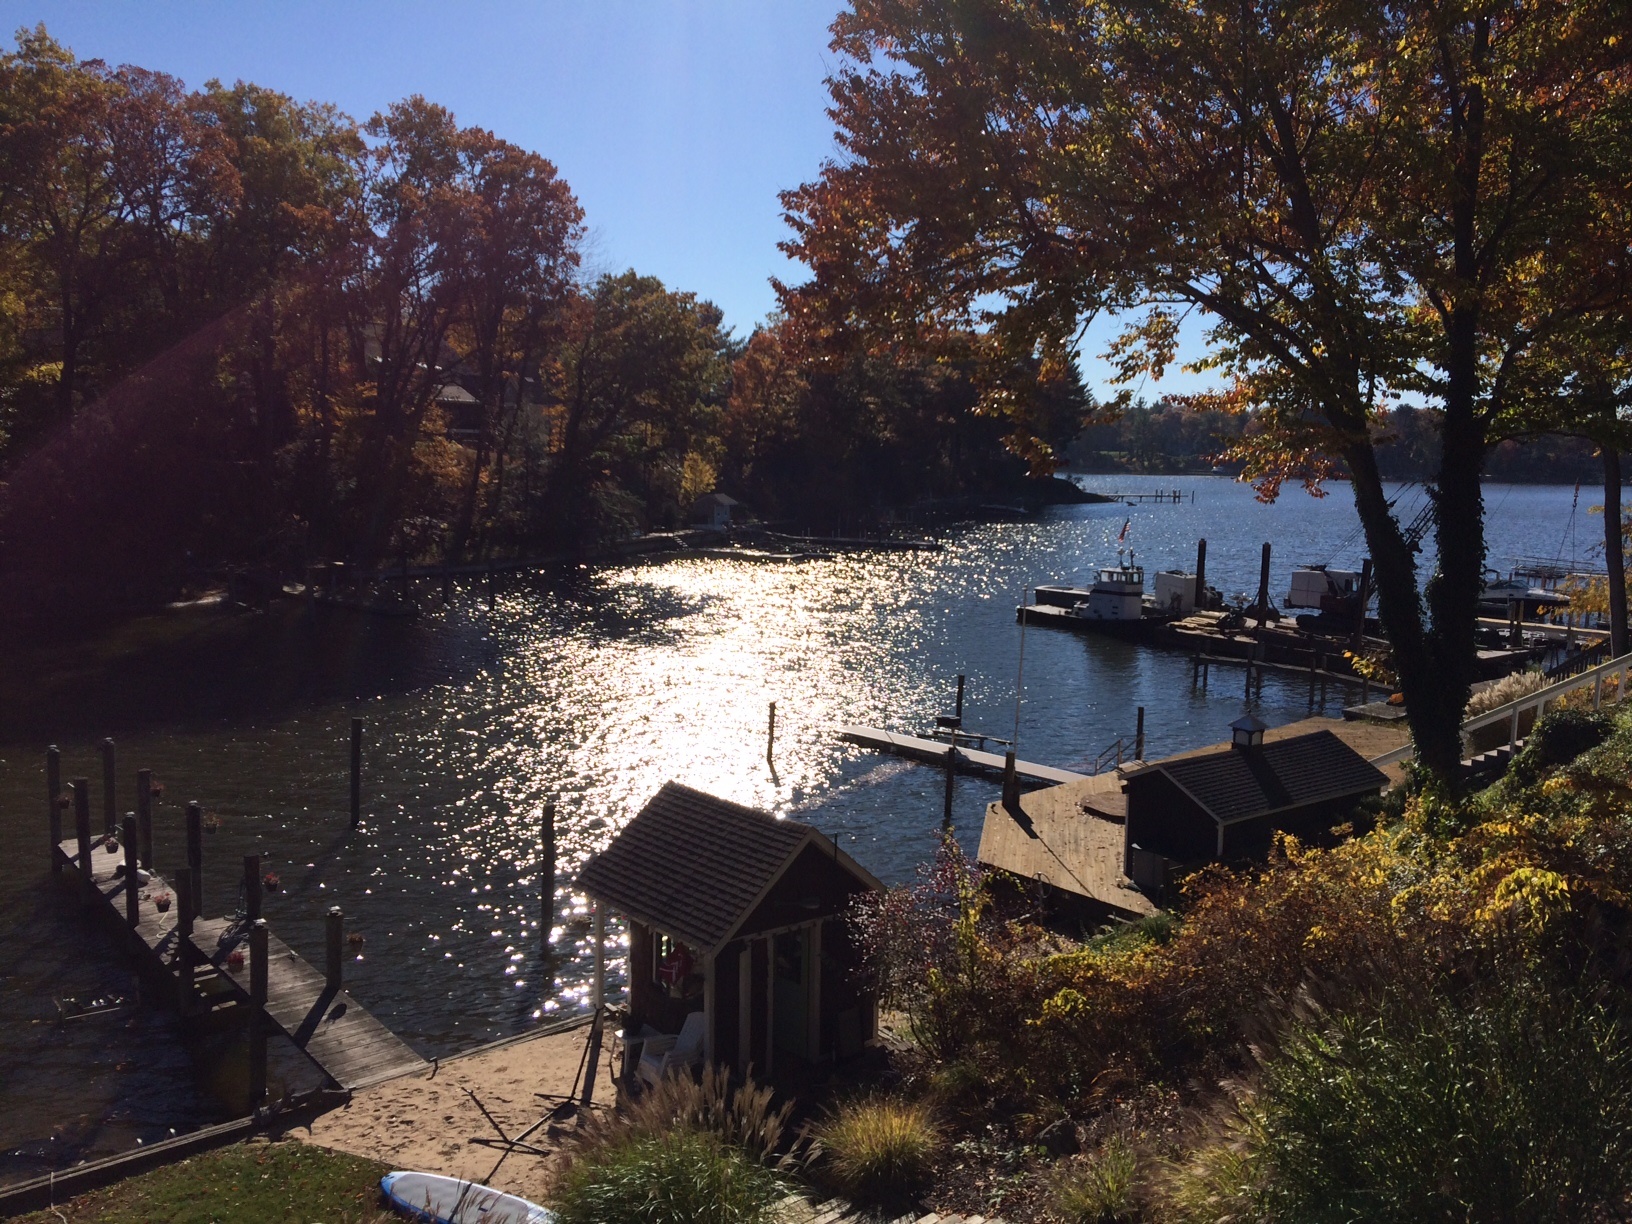
This was a gorgeous fall day, with the leaves just starting to reach peak color. We had just taken the boat over to be stored for the winter.
We got an early snow in mid-November, while there were still leaves on some of the trees.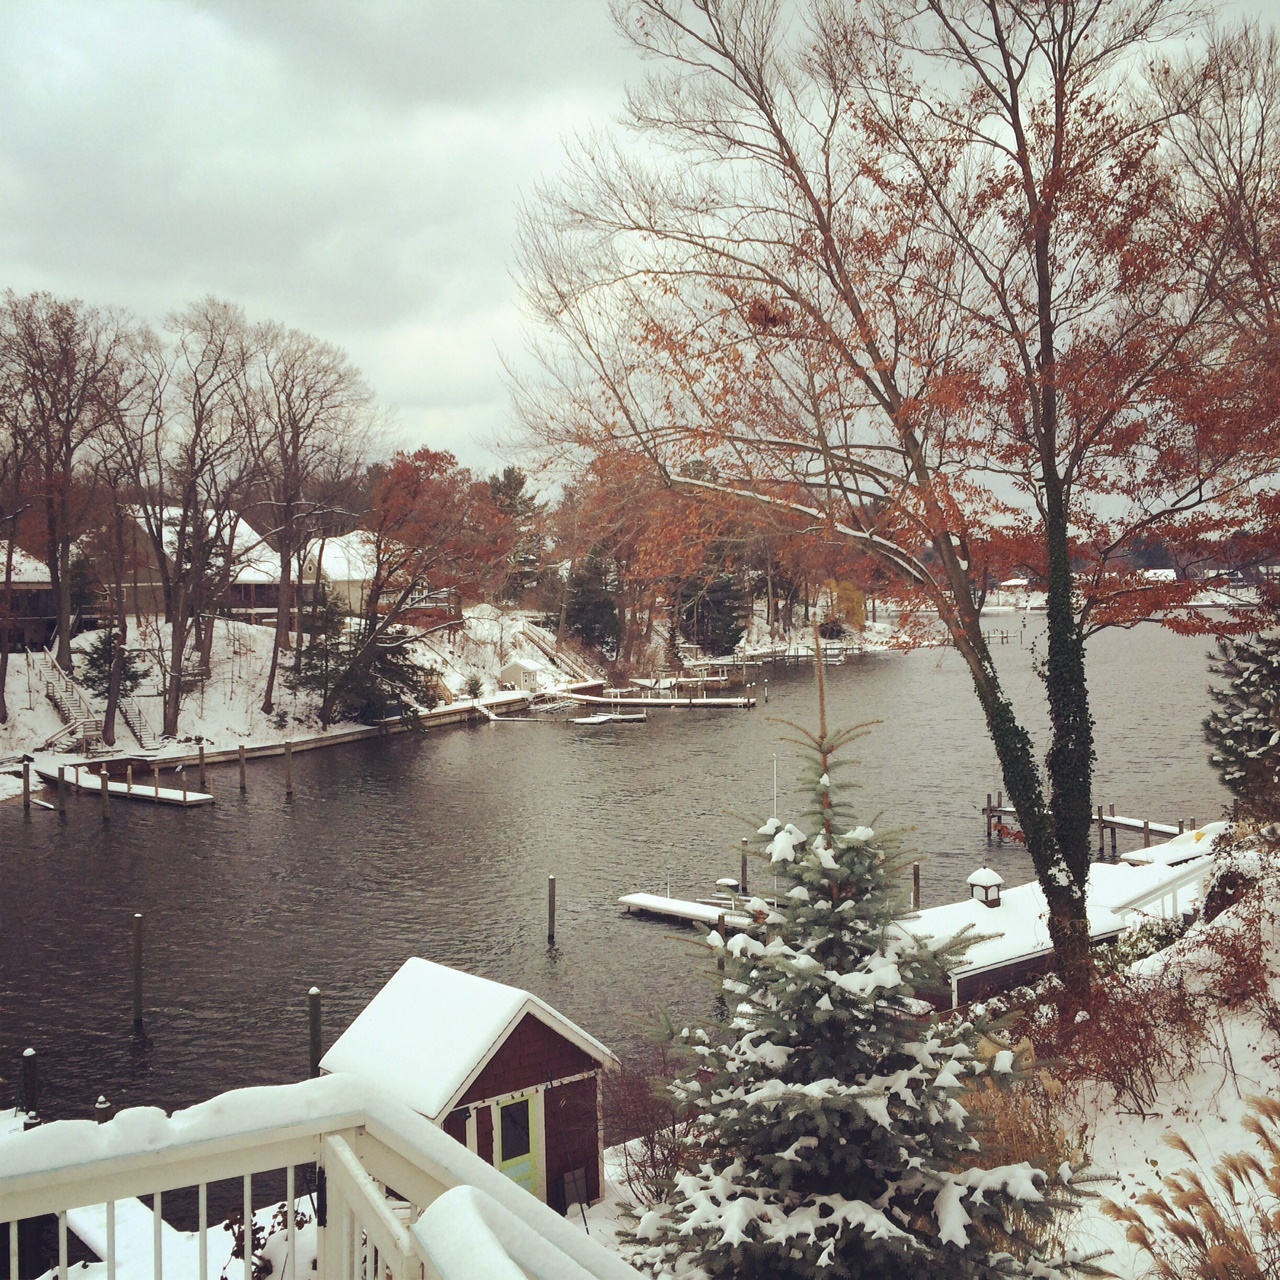
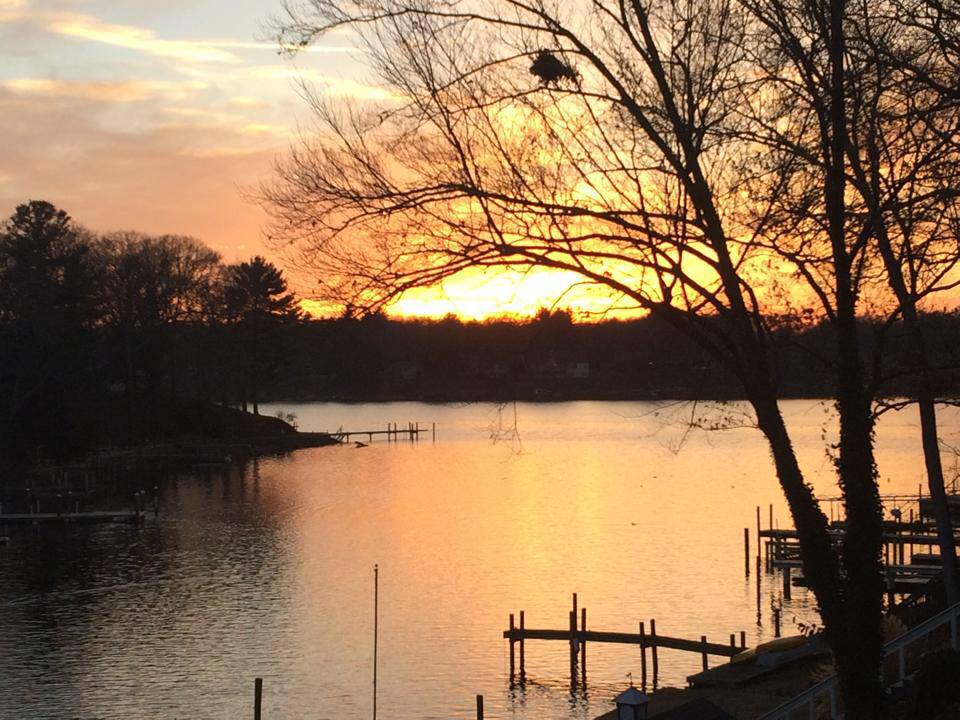
We went back to the lake the day after Christmas and there was no snow, but I loved this beautiful sunset.
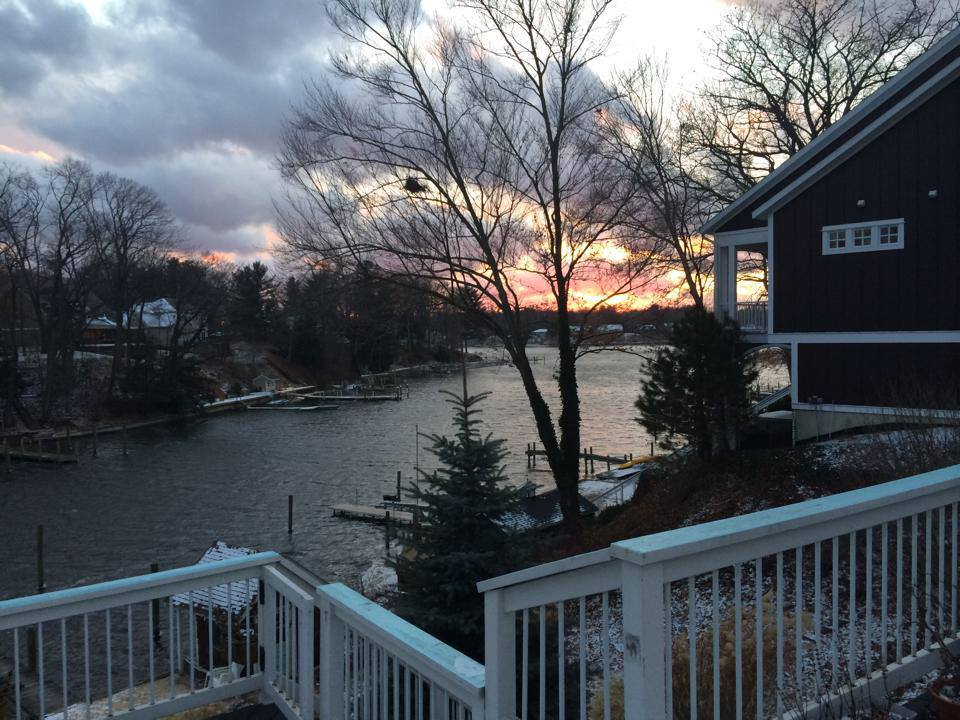
Rich’s sister and brother joined us for New Year’s Eve at the lakehouse. I caught this shot right after we got there as the sun was setting. I love the combination of colors with the periwinkle clouds and the pink sunset.
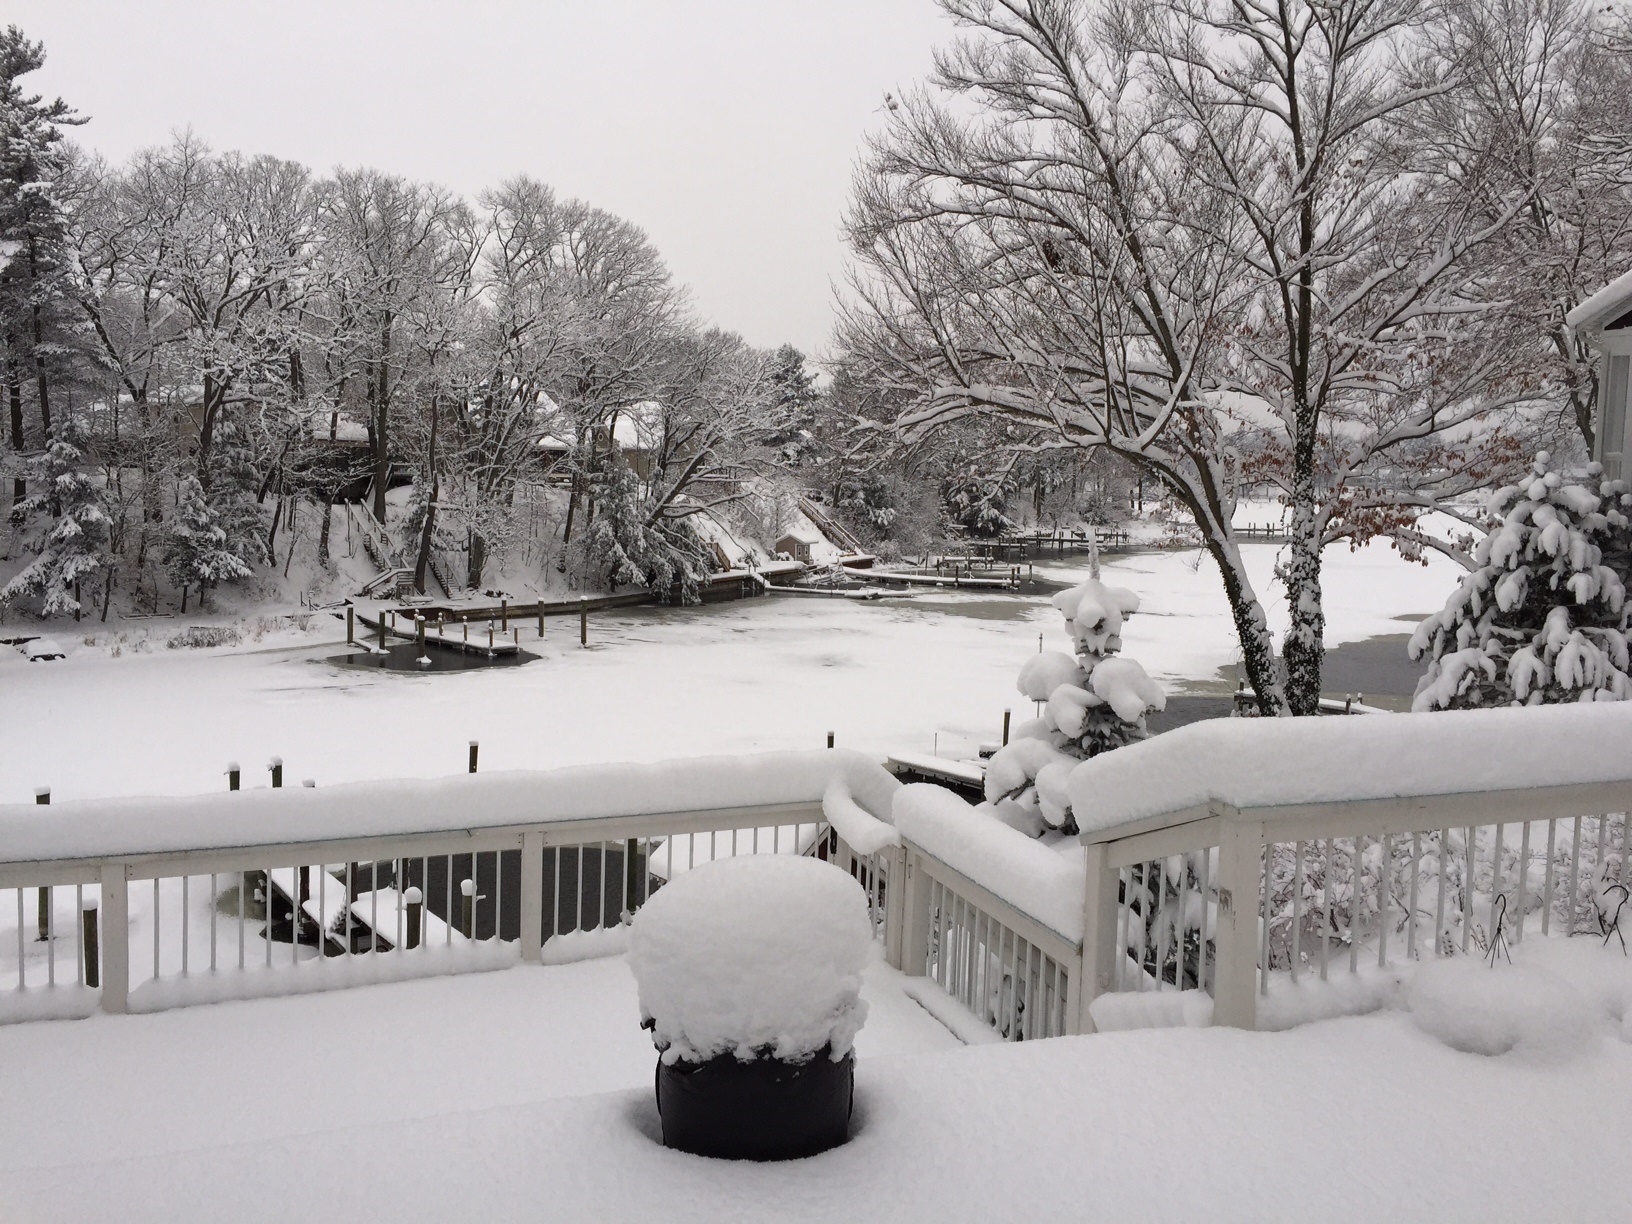
Then just yesterday Rich was snowed in for a while, and he sent me this shot of the lake effect snow that had hit the west side of the state. It was amazing because we had nowhere near that amount of snow in the Lansing area. This picture almost looks like it has a black & white filter on it, but this is actually full color!
I don’t think I’ll ever tire of capturing the changing beauty of our bayou, and I’m especially looking forward to seeing it all decked out for our big event on July 25.


