Charcuterie boards are everywhere these days, and with good reason. They are fun and easy to assemble, visually gorgeous, and most important, delicious! The sky’s the limit in terms of what items you can include on your board. I like to use a wide variety of cheeses, meats, olives, spreads, nuts, and fruits, but the possibilities are really endless.
A recent Memorial Day board was my favorite so far. My daughter and I turned the board production into an all-morning project. You know you’ve done a good job when, once it’s finished and sitting on the coffee table, everyone pulls their phones out to take pictures.

My friend Norma gave me this Reluctant Entertainer board as a Christmas gift, and I HIGHLY recommend it if you do a lot of entertaining. It’s food safe and has a lip so food doesn’t fall off, plus it has underside handles for easy maneuvering.
SIDE NOTE: I’m a member of the Aldi Aisle of Shame Community group on Facebook even though I’m not much of an Aldi shopper, but it is such a super funny, happy group of people and it’s just fun to see the posts. Anyway, a while back one of the members posted a picture of her board but called it a “cooter board,” and to be honest that’s how I refer to them more often now than charcuterie board.
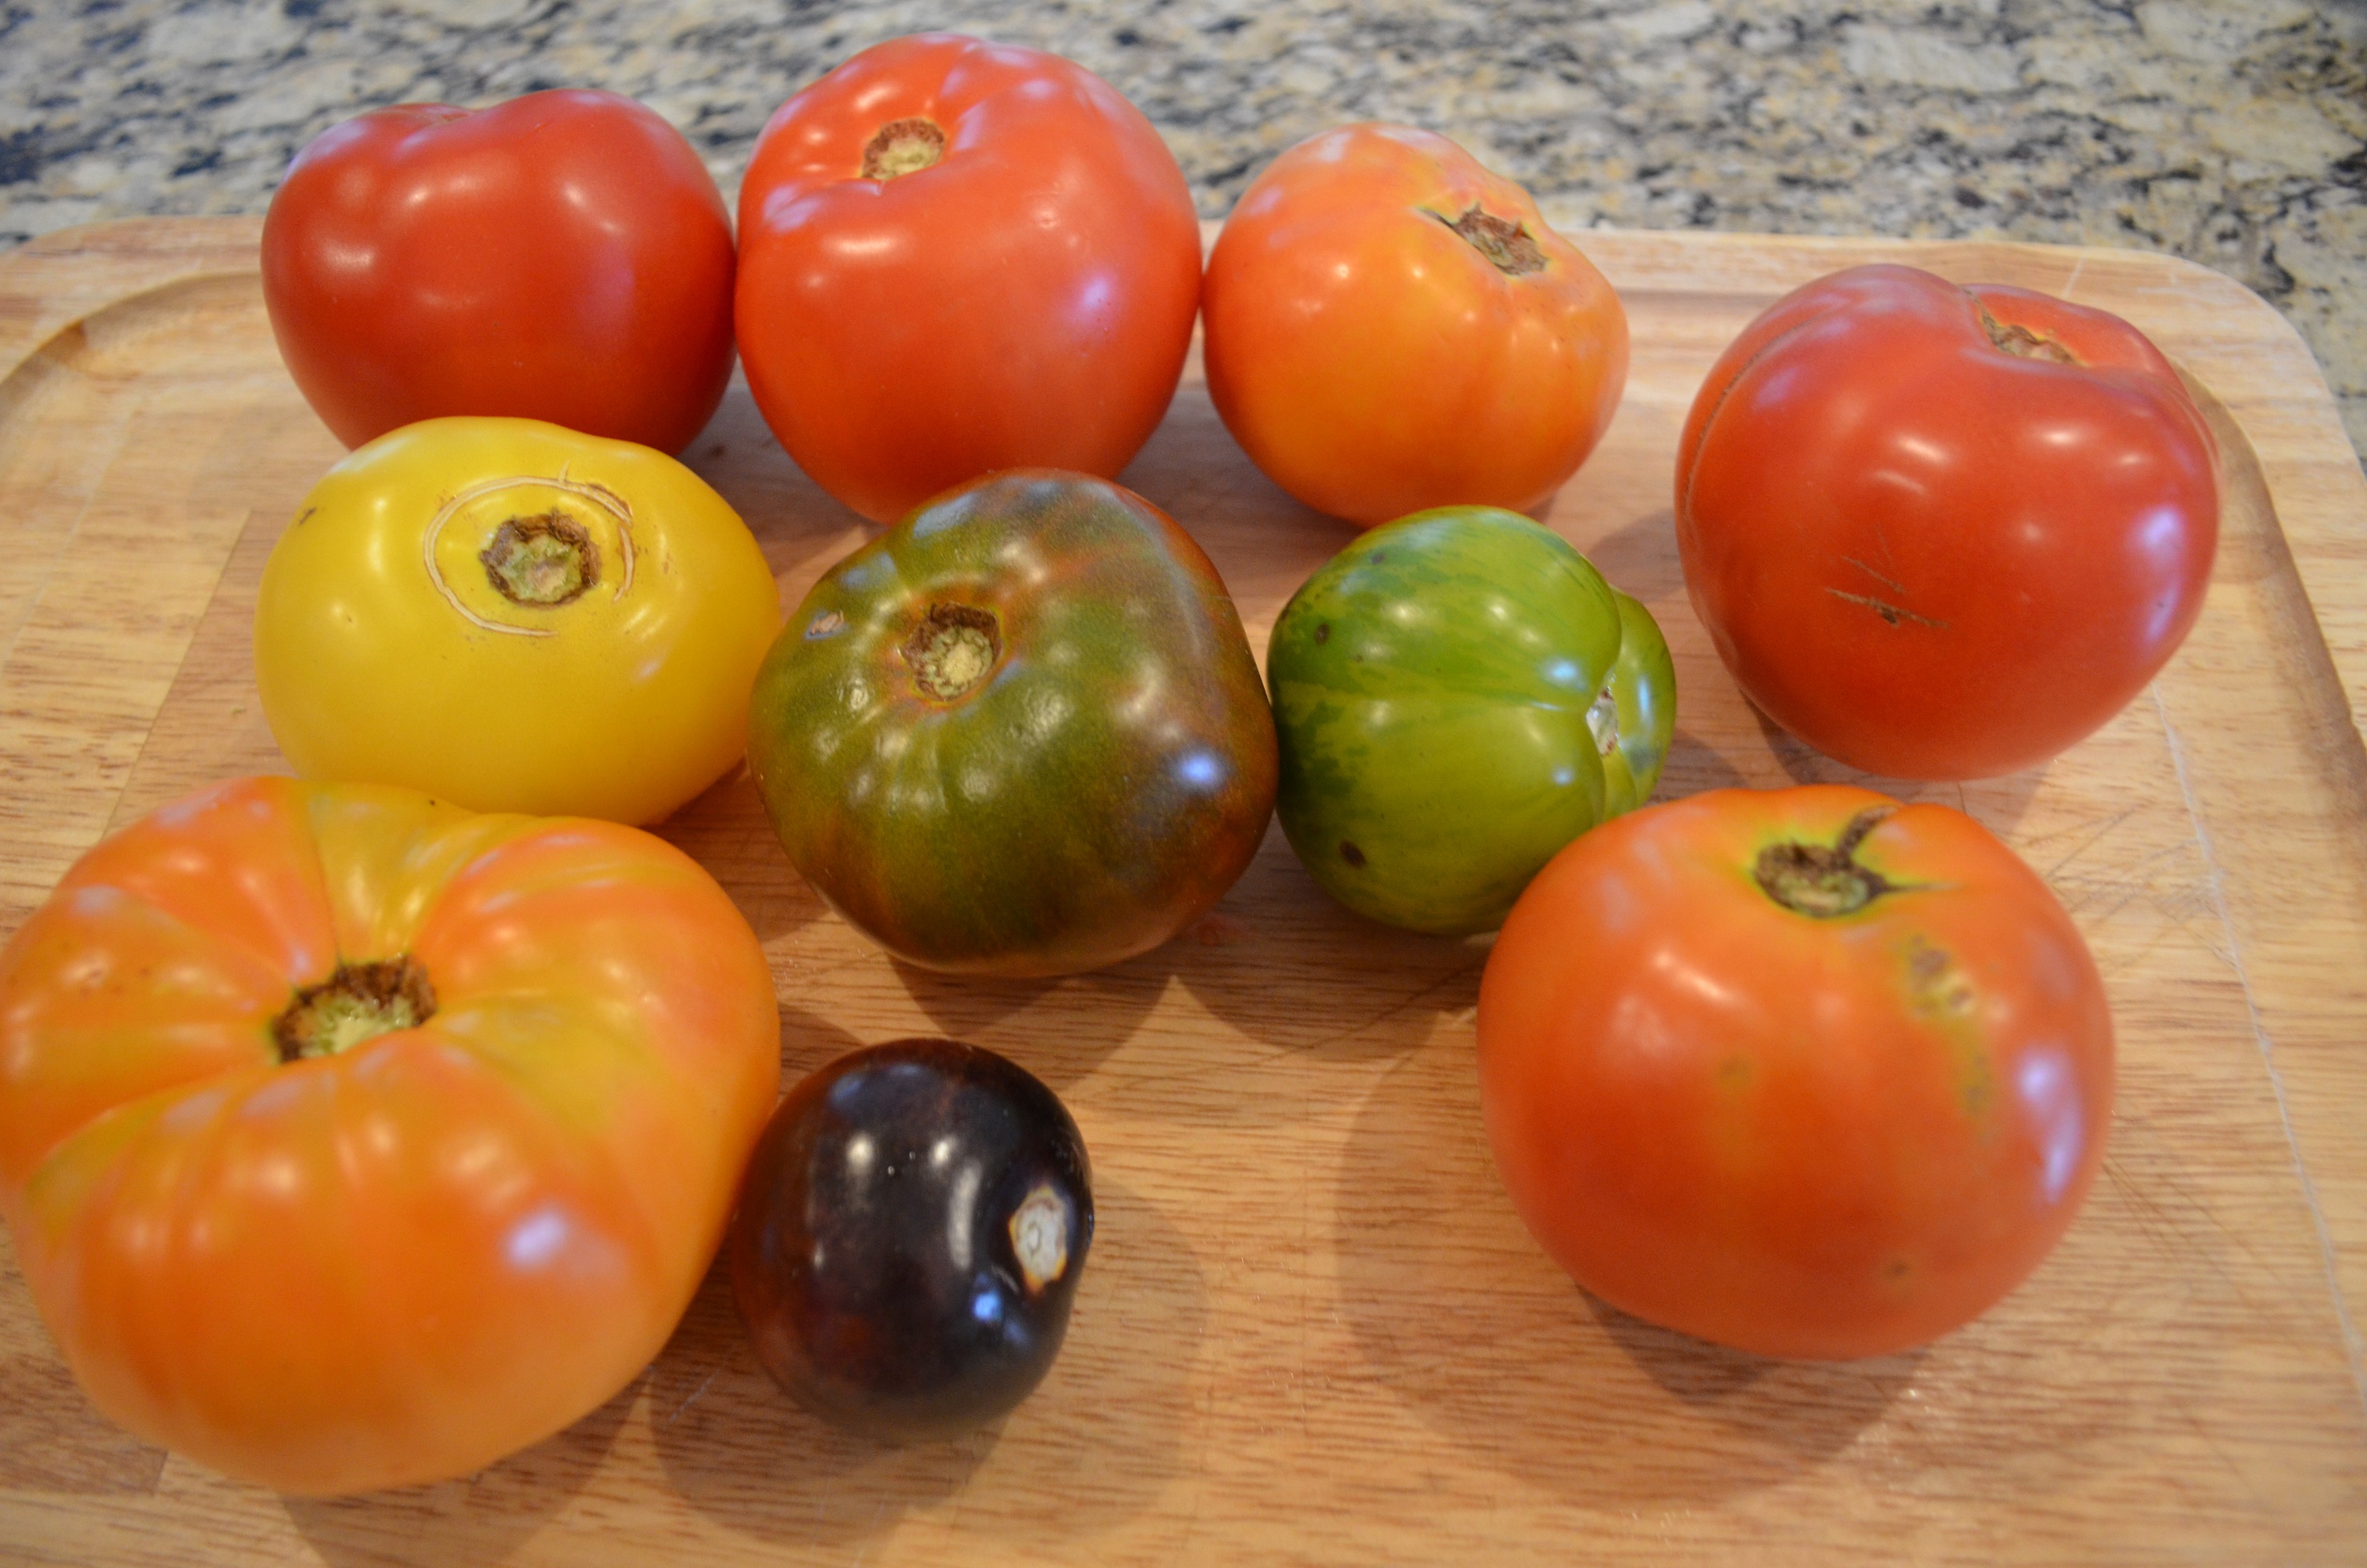
For this board, we pretty much used anything and everything in terms of foods. I always like to start with a nice selection of cured meats (salami, prosciutto, etc.) and several different cheeses, both soft and firm. Pickled nibbles like olives, cornichon and artichoke hearts are crucial to a good board. I picked up some to-go pimiento cheese dip from a local restaurant and added that, but later Norma discovered a brand called Palmetto Cheese, available in grocery stores, which tastes exactly like the restaurant version so I’ll definitely use that from now on. We also added a fantastic pepper relish purchased from a local shop, which shmeared on a cracker with a small slice of prosciutto on top is a delicious combo.
I like to use a few different kinds of crackers – we used Toasteds, Triscuits and cheese straws (from Trader Joe’s, highly recommend!). Homemade cheese straws would be lovely if you have time to make them. Nuts, dried and fresh fruits (we used dried cranberries as well as fresh green grapes and raspberries) were next, and then just to fill in the empty spots we added goldfish crackers and Trader Joe’s mini cookies. Some chocolate-covered nuts or other candies would be fun to include too.
You’re definitely going to need some small containers for wet items like dips or marinated foods. I prefer using clear or white dishes that don’t distract the eye from the food. I found these on Amazon but you could also use rocks glasses, mini ramekins, shot glasses or tea cups. Cookie cutters are a fun way to contain nuts or other small foods that would otherwise roll around.
I also tried my hand for the first time at a salami “rose” and was happily surprised at how easy it was to make, yet it looked so impressive. Basically you use a regular wine glass and layer your rounds of salami along the rim until you get the fullness you want. There are a million tutorials online on how to make them, but I watched this video on YouTube.
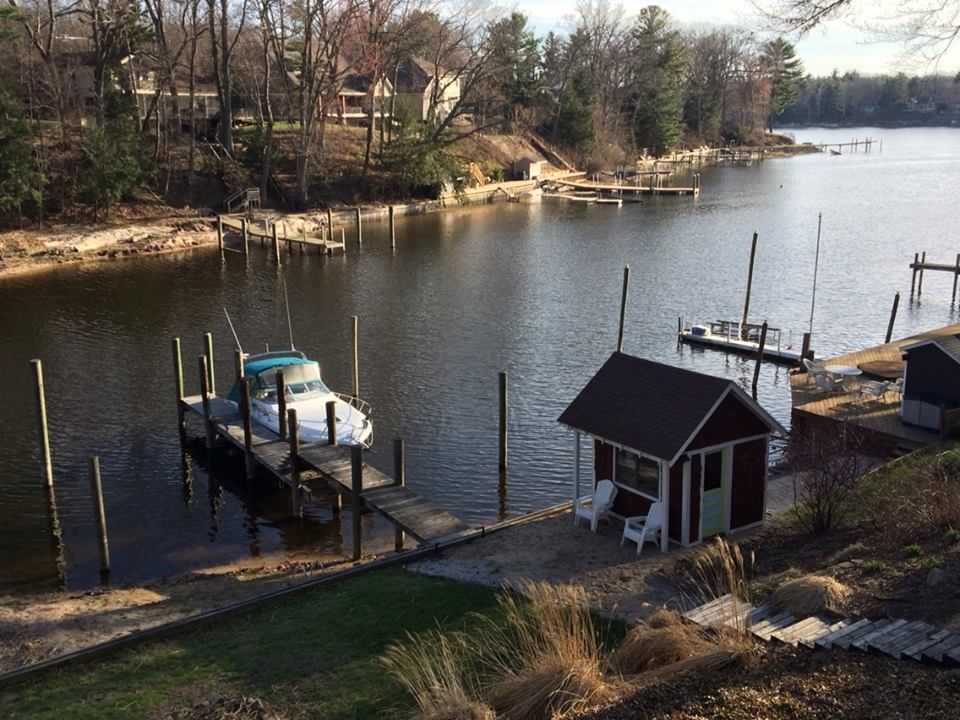
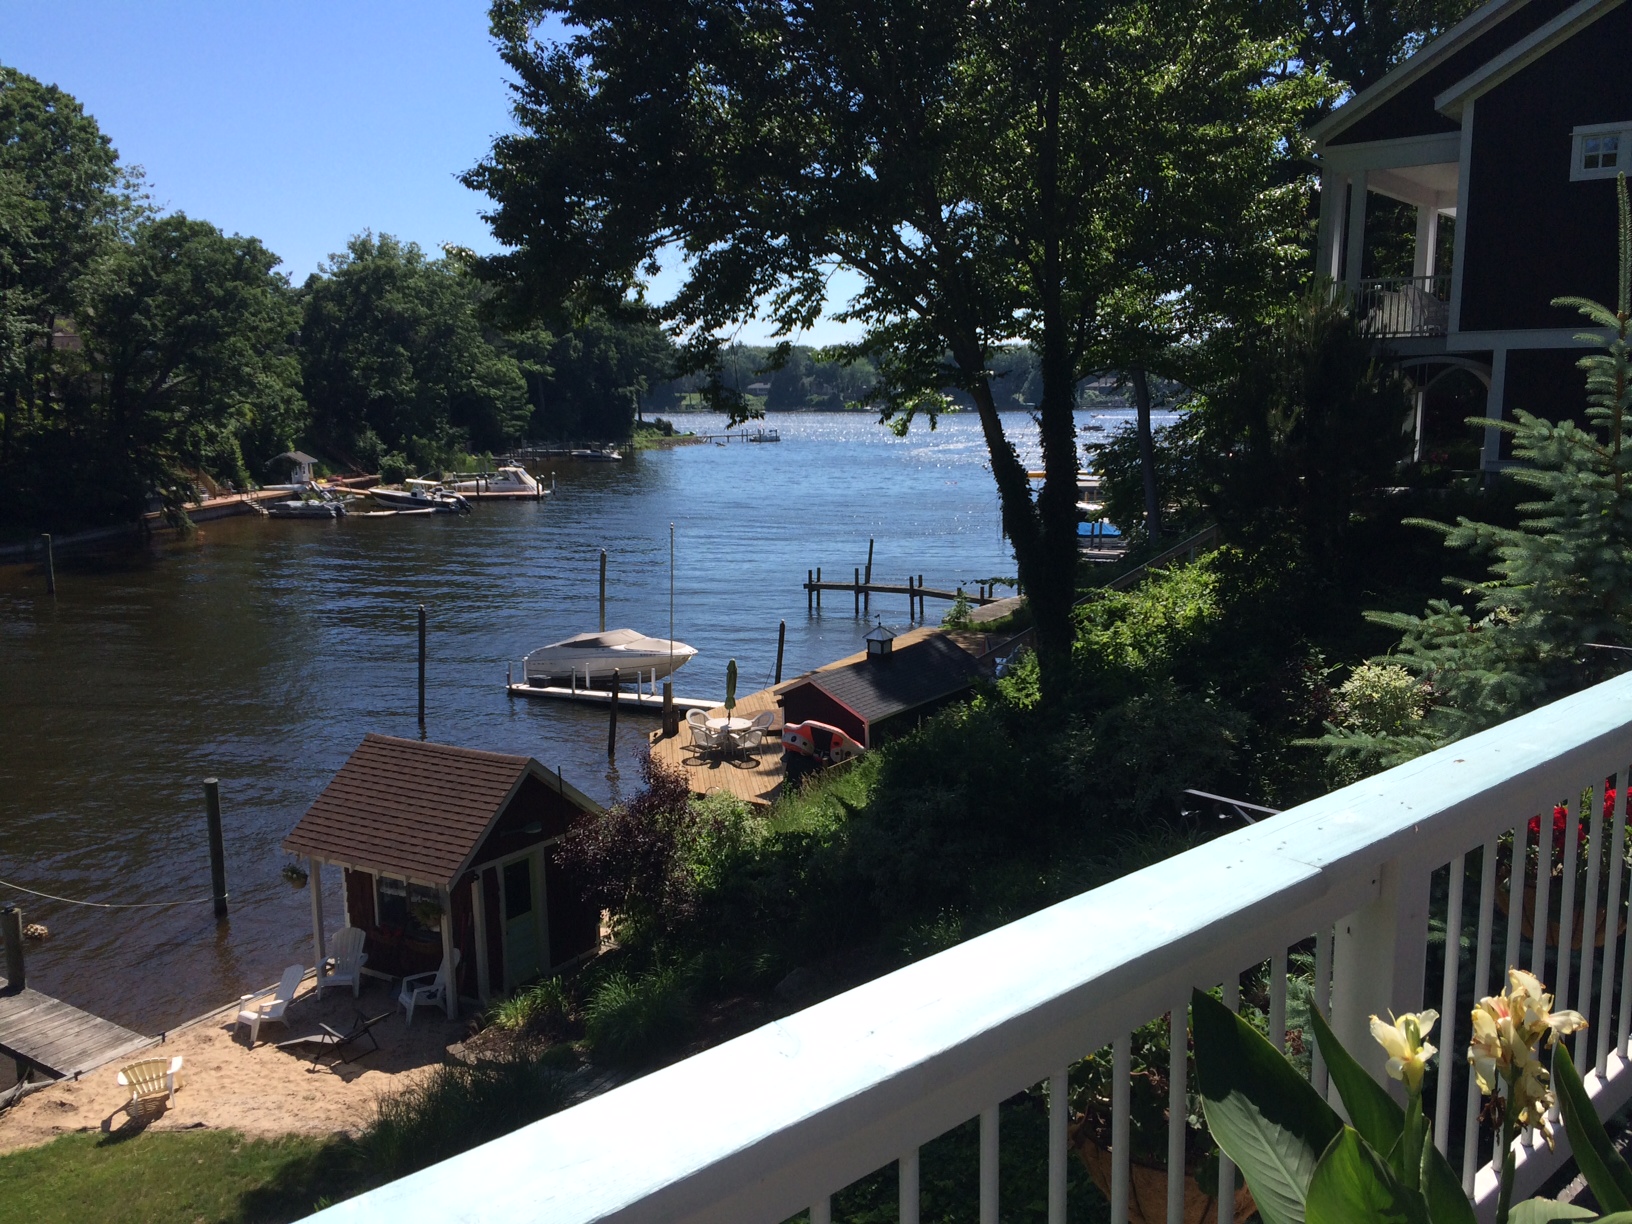
Really, the sky’s the limit when it comes to a charcuterie board. You could make dinner, breakfast, taco, or sandwich boards, or go with a color scheme or holiday motif. A few years ago my sister, daughter, and I made a red, white and blue (-ish) board at our lakehouse to coincide with the release of the movie Hamilton on Disney Plus, which launched at midnight on the Fourth of July.

This was actually the first board I ever made. I think my board-design skills have improved since then, but this was still fun and delicious. I found the tray at World Market (unfortunately, this exact one is no longer available but they do have a similar one, view here) and liked it so much I bought a second one for our home in Florida. I like the rustic style and thought it worked well with our patriotic/Revolutionary War theme. I would have preferred a metal cookie cutter rather than bright yellow, but it was all I had on hand and the star shape at least also fit the theme.
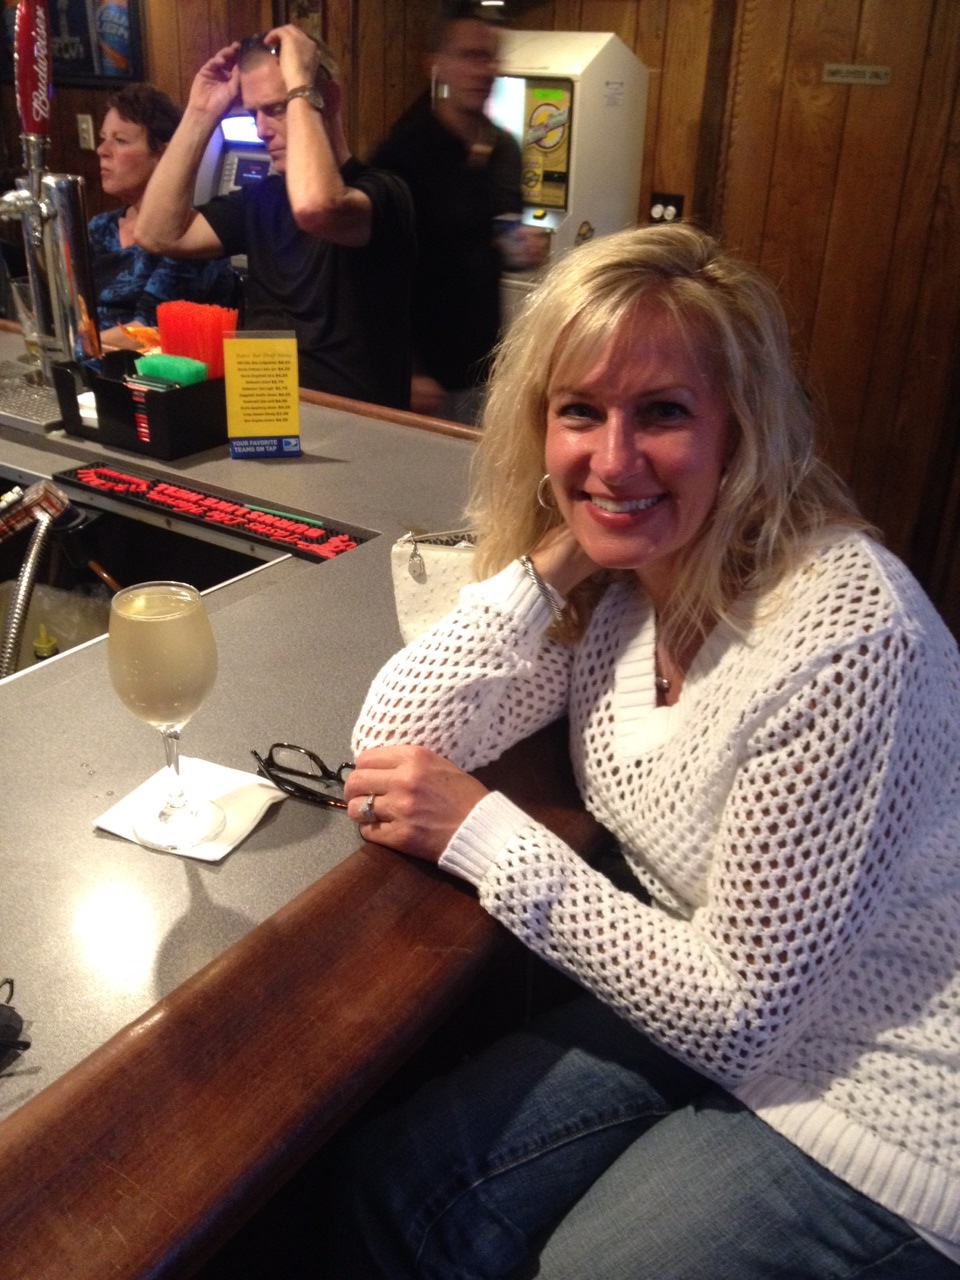
The cocktail, by the way, was a Hpnotiq cosmo. These are easy to make and absolutely delicious: for one cocktail, you need 2 oz. Hpnotiq, 1 oz. premium citrus vodka, a splash of white cranberry juice and a drop or two of lime juice. We went with a simple strawberry garnish to keep with the red, white, and blue theme.
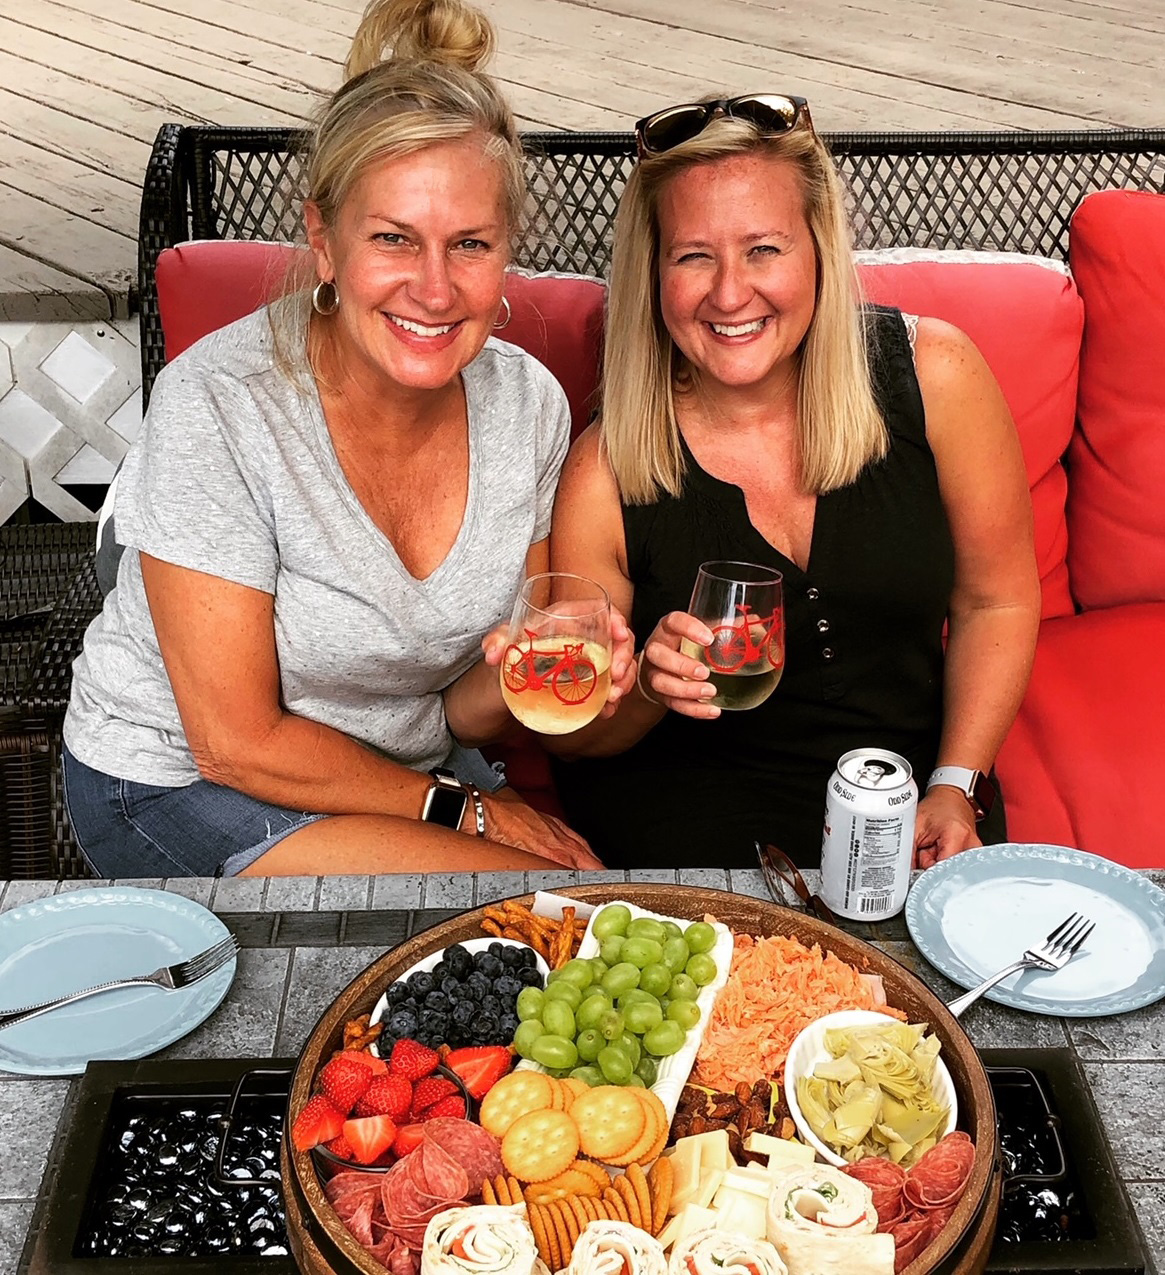
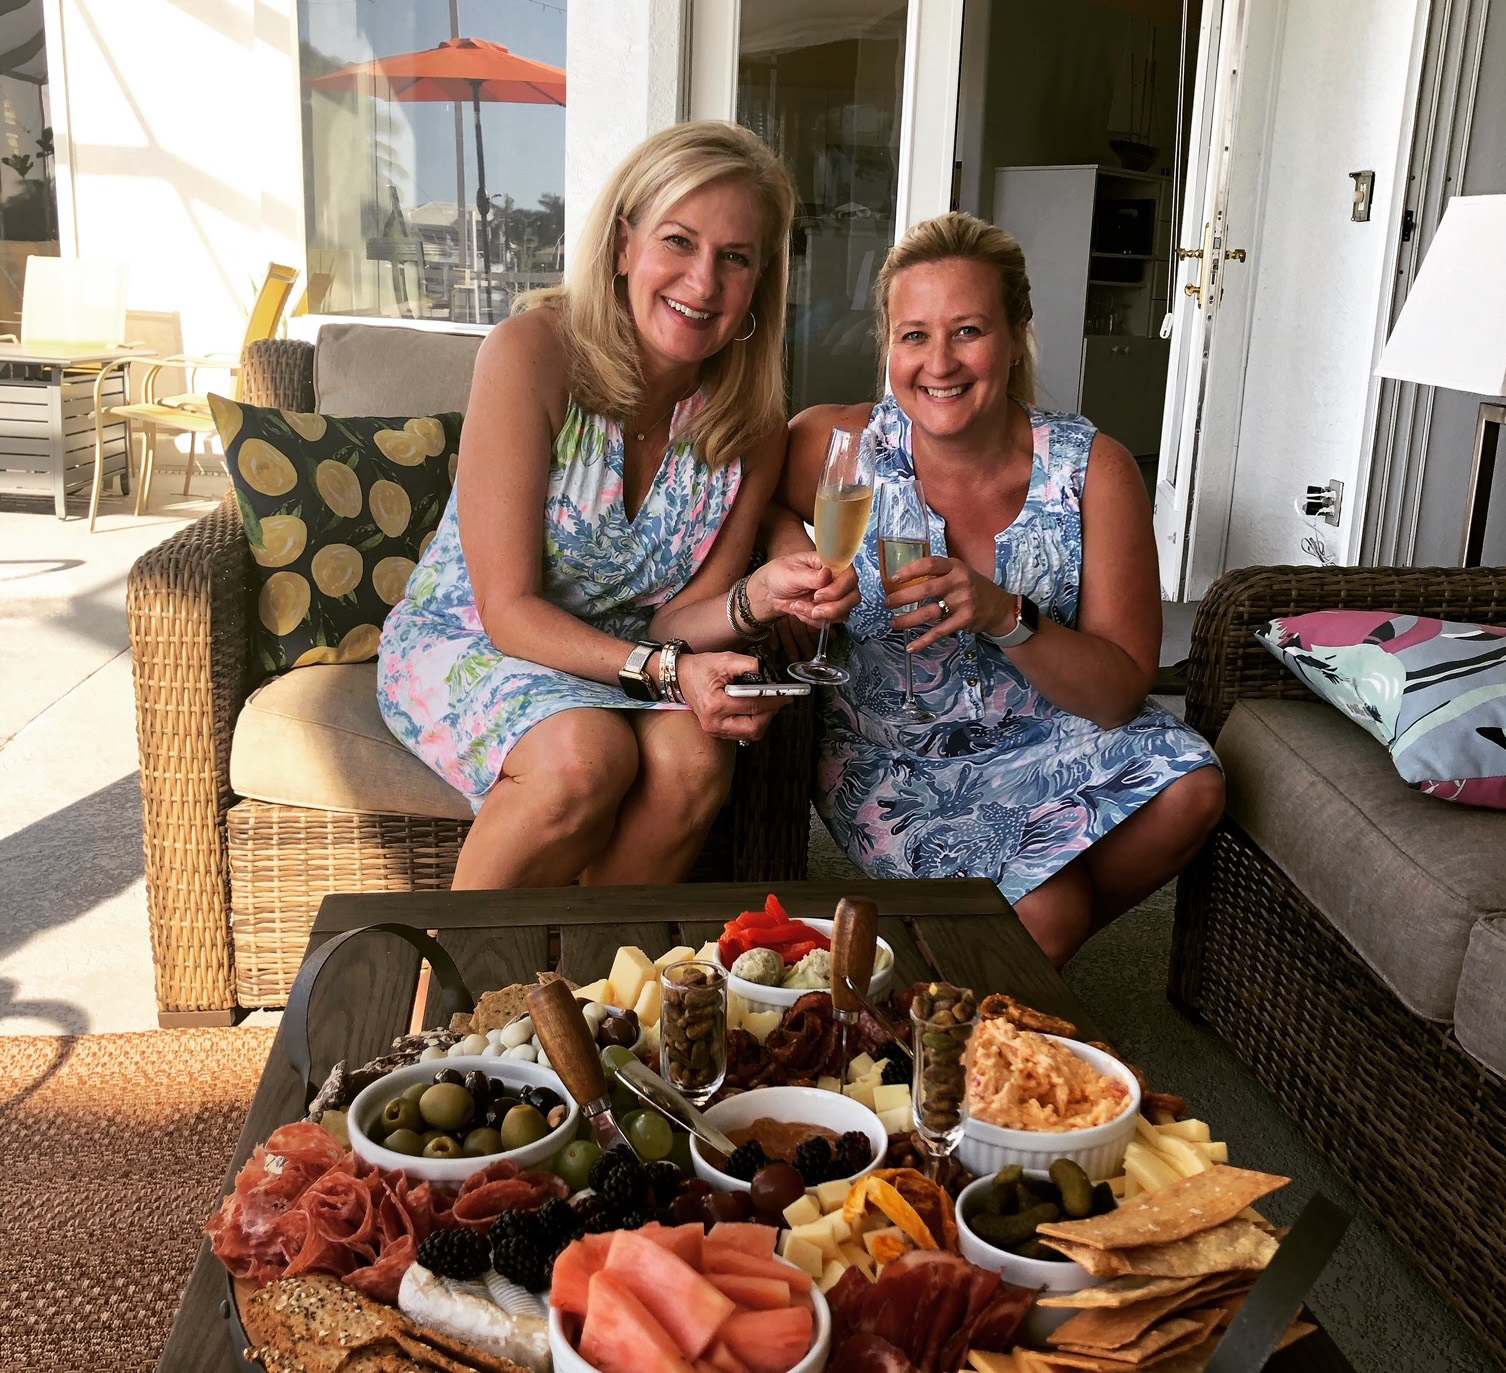
Here are photos of a couple of other boards Norma and I made recently. There’s really nothing noteworthy about these, other than I just wanted to show how you can vary your boards by switching up the ingredients.
I know there are lots of other board trends out there such as butter boards, which I’ve never actually tried. Snackle boxes, like this one from Inspired by Charm, are basically to-go charcuterie boards. But what I love about a classic charcuterie board is that the types of foods you can include is virtually endless, guaranteeing there will be something for everyone to enjoy. You can make it as big or as small as you need depending on the number of guests, and there are a million possibilities for a theme board. Give one a try for your next party or get-together!